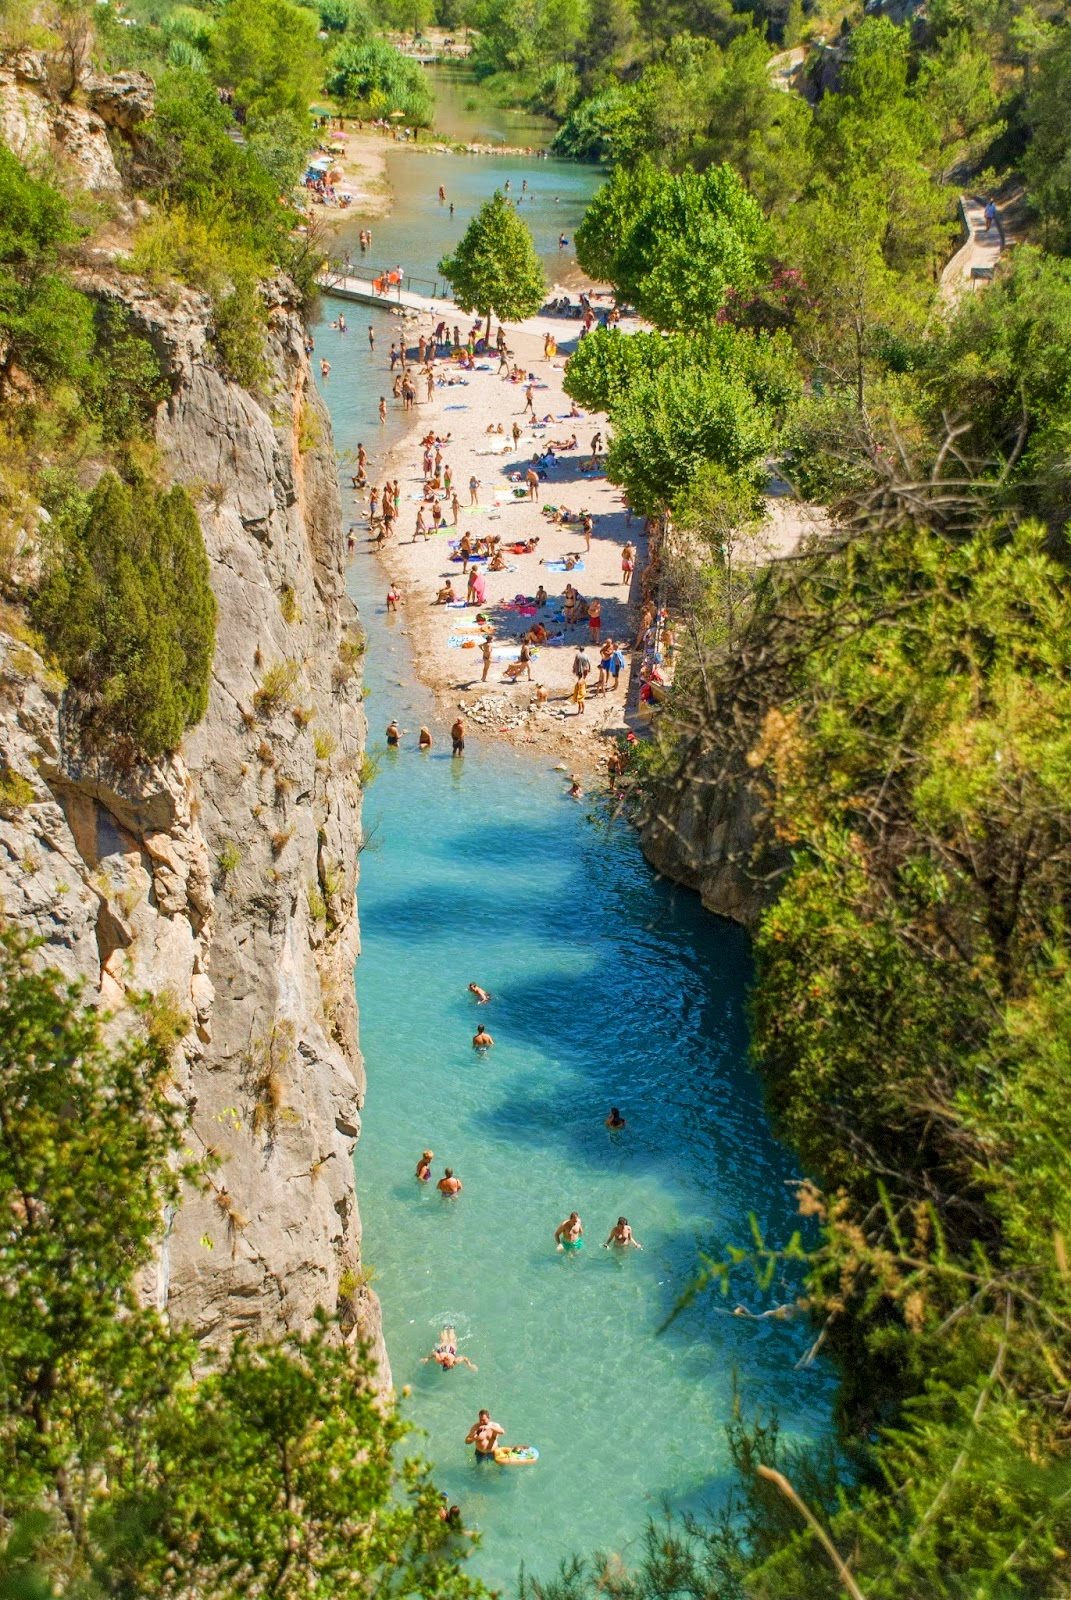
Some time ago, I was challenged with a project for automatically monitoring the occupancy of a natural area.
The idea was to use a drone equipped with a camera to shoot a video from the air. The video would be later processed with computer vision algorithms and deep neural network models to obtain the number of people present at the site at the time of recording.
It involved a linear area several kilometers long, which the drone would survey from end to end, with the camera capturing the full width of the path as it moved along.
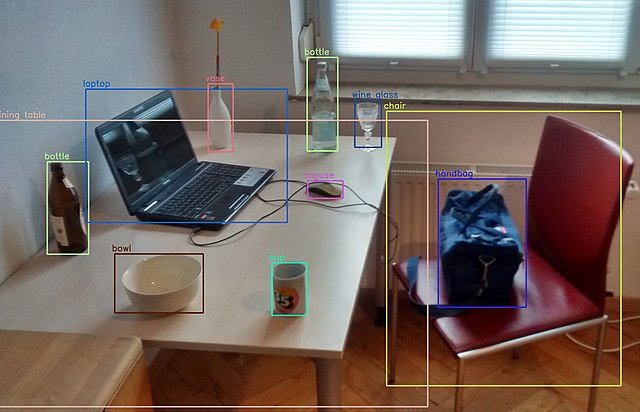
The expected result was a video with bounding boxes overlaid over each detected person, along with a global counter showing the total number of people seen up to that point.
Once the video was processed, the detected occupancy would be reported to the authorities, who would compare it with manual counts to detect anomalies caused by large variations.
To make things more interesting, we couldn’t count on good-reliable and high-bandwidth internet access in the area to be surveyed, so the only viable option was to process the video completely offline. Also, deploying the solution in the cloud would be more complex and require the usual monitoring and management.
So, we’re talking about a multi-object tracker. This is usually done in two steps:
1. Detection
In the detection phase, we run inference on a video frame using a deep CNN. The result is a set of bounding boxes, each with its class (type of detected object) and a confidence score ranging from 0 to 1.
2. Tracking
In the tracking phase, we assign a unique identifier to each bounding box and maintain it across consecutive frames. We analyze the content of the bounding box in the previous frame and compare it with the current one to determine if it’s the same object. When a new person appears who hasn’t been detected previously, we increment the global people counter. This a way to avoid counting the same person once per frame. A good tracker should also be able to handle temporary occlusions. For example, if a person walks behind a tree and gets occluded temporarily, when they are visible again, the tracker must recognize it’s the same person seen in previous frames and reassign the same id, which is called re-identification.

Hardware
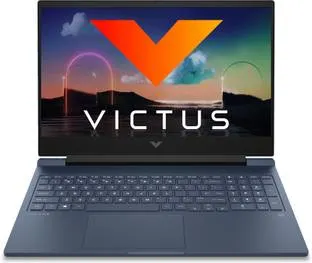
To execute this process on-site, a modest gaming laptop by the standards of that time was purchased. An HP Victus with 16 GB of RAM, a 512 GB SSD, and an Nvidia RTX 3050 graphics card.
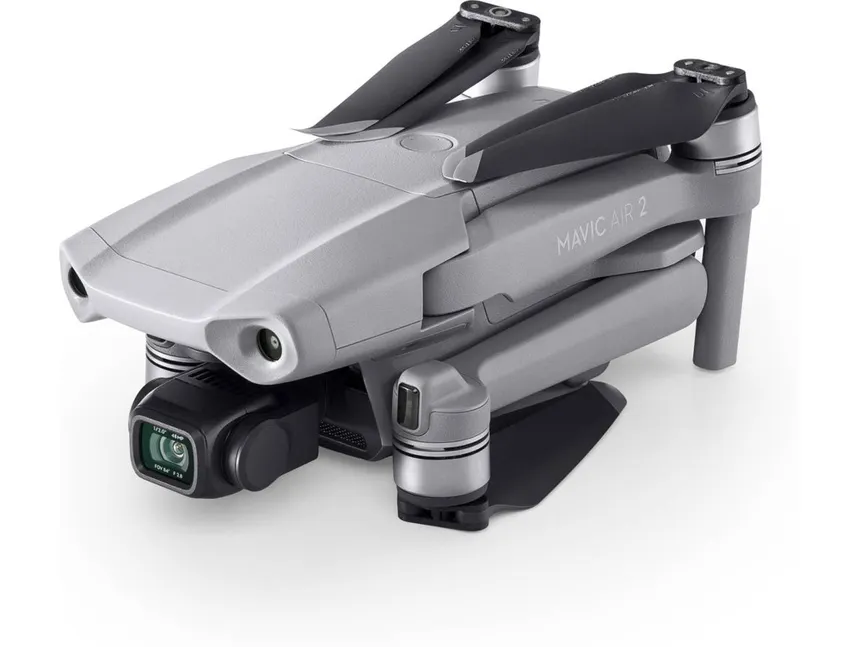
To capture the footage, a DJI Mavic Air 2 drone was used, recording at 4K resolution (3840×2160).
Software
The operating system is Windows. I would have preferred to install a Linux distro, but my experience with laptops using dual GPU setups is a bit hit-and-miss. I use Linux as my daily driver on one of those machines—I know what I’m talking about 😄. And I didn’t have much time for development, so I prioritized having good driver support, even if it meant doing some acrobatics to get the whole framework working.
PREPARATION
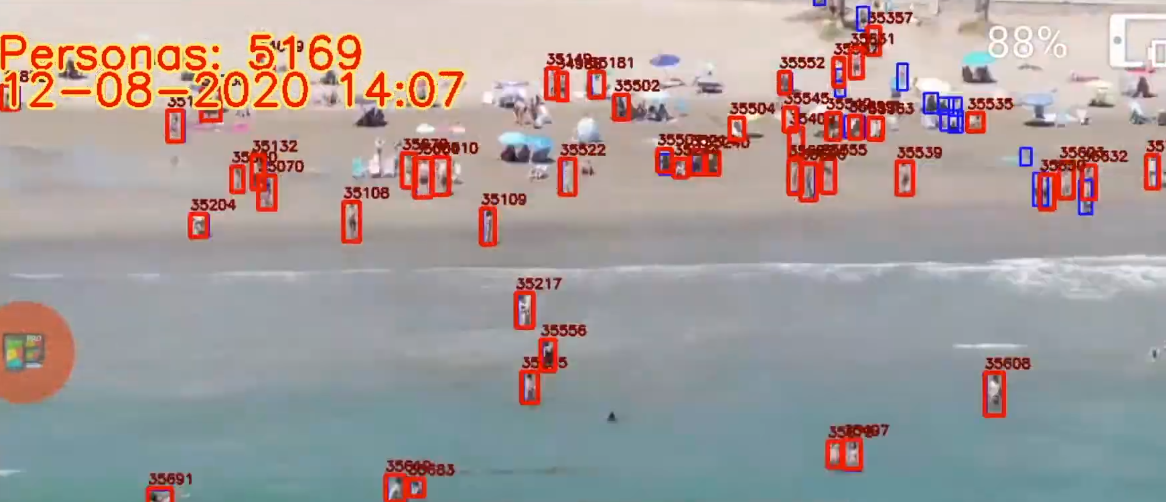
In previous years, the company already did people counting on beaches using a custom solution, developed several years earlier based on a YOLO v4 detector + the Deep SORT algorithm.
YOLO is a family of detection algorithms known for their high performance by doing a single pass through the neural network (You Only Look Once).
The bounding boxes generated by YOLO in the current frame were fed to Deep SORT for tracking.
Deep SORT stands for Deep Simple Online Realtime Tracking. It relies on deep learning models and computationally complex algorithms for bounding box association. A CNN extracts appearance descriptors that encode the appearance of the detected objects. A Kalman filter is also used to predict the state of the object in the current frame based on its last known state, accounting for the object’s motion dynamics.
The process ran in the cloud using servers with Nvidia A100 cards. An RTSP stream was transmitted live, stored on the server, and added to a job queue.
It worked but had some shortcomings:
- There was no way to resume a stream if it was cut off, which happened frequently on the beach due to high crowds and cell saturation. An incomplete video was processed anyway, yielding a partial result.
- It was very heavy: It could take 30 minutes from the end of a transmission to having the result ready. This was to be expected because of Deep SORT’s high complexity
- It got expensive very quickly: In order to save money, GCP instances had to be manually brought down and up every day. Arrive one minute late, and they’re out of GPUs for you to rent.
- GPUS were sometimes pulled offline for some reason, and the instances had to be restarted manually.
When the preexisting solution was developed, a custom YOLOv4 model was trained for it, using hundreds of real images taken by the drone at beaches and manually labeled. Since the model worked well, and there was no time to train and tune a new one, I decided to reuse it but changing the framework and tracker, as the bottleneck was the detection stage, which could take over 1s per frame.
I researched ways to lighten the tracking workload to make it feasible to run offline on a laptop and found several interesting proposals with one thing in common: not running tracking on every frame, but on one out of every N frames.
Mvmed is a real-time online tracker for objects in MPEG-4 and H.264 compressed videos. The interesting part here is that the motion vectors stored in the P and B frames of an H.264 stream are averaged inside each bounding box to interpolate their positions and sizes for the frames between tracker executions.
As curious as this approach seemed to me, getting the Docker container to build was far from straightforward because of broken and outdated packages. It turned out to be a rabbithole I couldn’t afford to go down.
Also, Mvmed doesn’t use YOLOv4 for detection, so I would have had to change that part—which I wouldn’t have minded if the project compiled out-of-the-box.
FastMOT is another somewhat outdated project by current standards with the same approach but uses a KLT filter to fill in the gaps between tracking steps efficiently.
- Detection is done with YOLOv4.
- Tracking is run once every N frames using a DeepSORT algorithm with OSNet Re-identification. It also includes camera motion compensation.
- Accuracy on the MOT20 training set is 77.9% when run every 5 frames.
So at that time, I decided to move forward with FastMOT.
After updating quite some obsolete dependencies, fixing many build errors, and compiling OpenCV with support for the RTX 3050 compute architecture (compute_85), I converted the detection model to ONNX in order to finally convert it to the TensorRT format FastMOT expects.
And I finally ran it on a test flight.
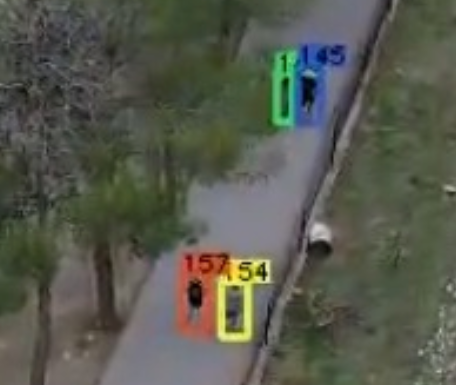
I modified the tracker code to add two counters and display them on each frame. One counter shows the number of distinct people counted so far, and the other shows the number of people detected in the current frame.
I tweaked the line and font sizes a bit, and this was the result.
Deployment
To run it on Windows, I used WSL2. Fortunately, GPU virtualization had recently been supported, so I installed the Nvidia Docker container toolkit.
I deployed the Docker container.
And to allow a user to run it easily, I programmed a simple Python UI using tkinter.
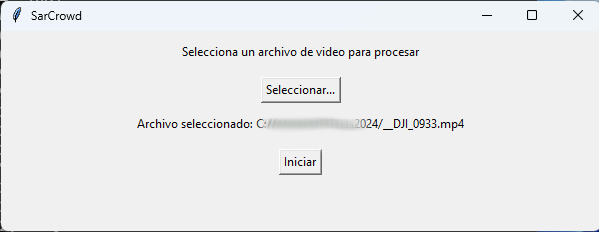
The UI runs locally (not in WSL), and lets users select a file and process it. When processing starts, the Docker container is launched this time in WSL with the proper parameters. The X11 windows are redirected, and a window shows the video being processed in real time.
docker run --gpus all --rm -it -v $(pwd):/usr/src/app/FastMOT -v $3:/tmp/data -v /tmp/.X11-unix:/tmp/.X11-unix -e DISPLAY=unix$DISPLAY -e TZ=$(cat /etc/timezone) fastmot:latest python ./app.py -i "/tmp/data/$1" -o "/tmp/data/$2" --mot -g -v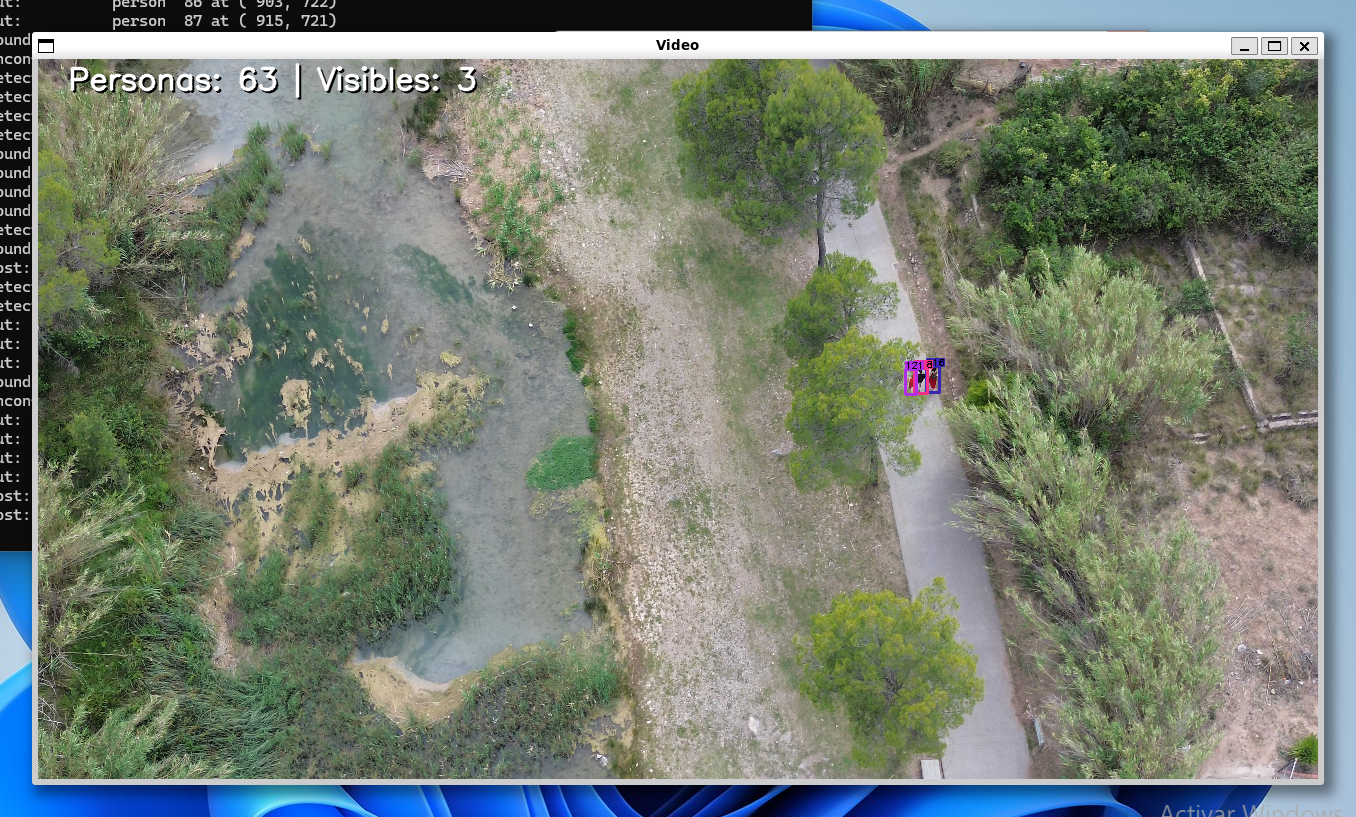
Finally, a desktop shortcut pointing to the Python UI app completes the setup.
- It ran consistently at 30+ fps on the Victus laptop with frameskip (N) = 5 with considerably good re-identification results.
- The confidence threshold for rejecting detections was set to 0.3 (objects detected with < 30% confidence are not passed on to the tracker)
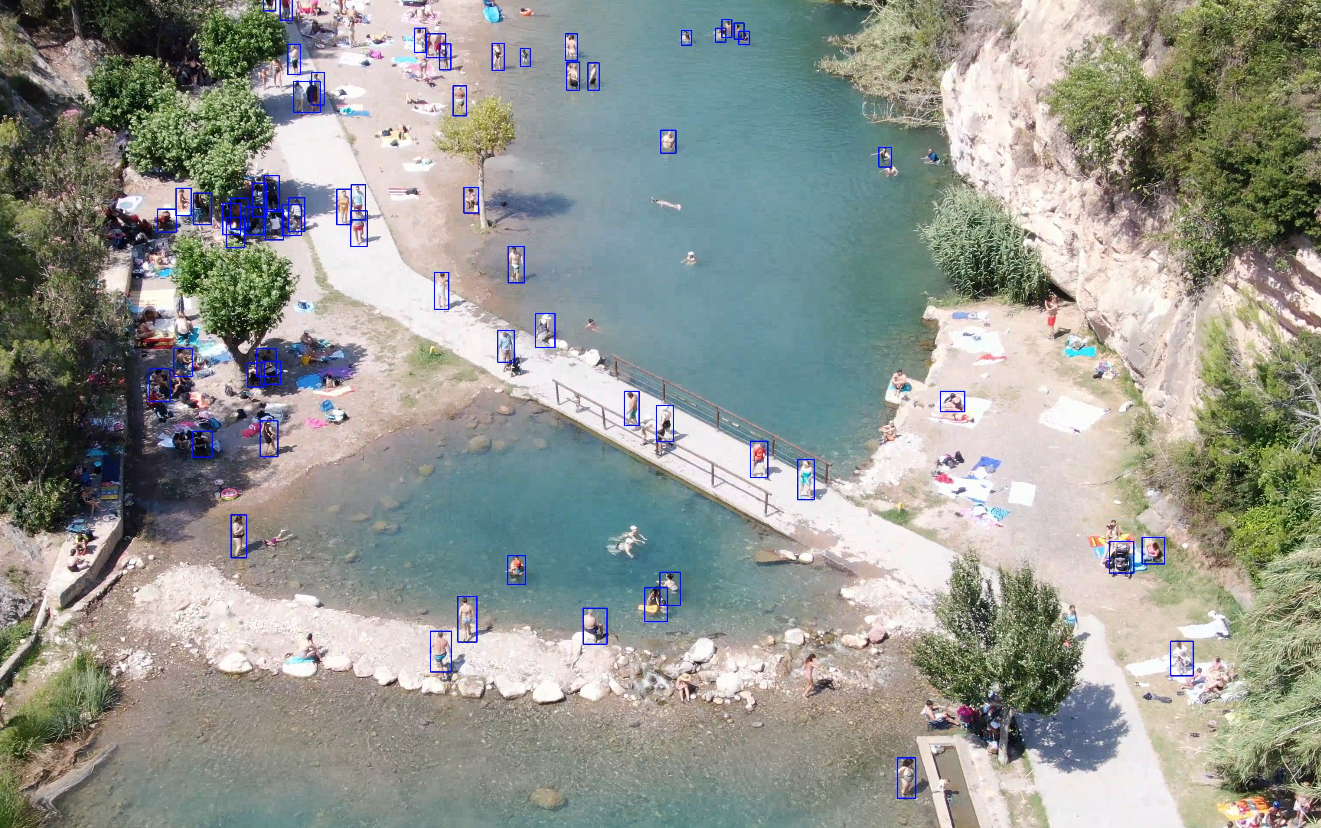
- The tracker works fairly well when the YOLO model struggles with detections in consecutive frames
- The model is primarily trained over pedestrians captured from above with a drone. As you can see it struggles a bit with swimmers.
Final thoughts
The implemented solution fulfilled the expectations, and seemed to provide the right balance between precision and computational cost for running on edge hardware.
There are many other interesting architectures for dense crowd estimation I’d like to take out for a spin like CSRNet


